The Eddy
       
     
Materials
       
     
V5_DJI0028_0033_Panorama1_Web.jpg
       
     
V5_A10I0119_Web.jpg
       
     
V5_A10I0128_Web.jpg
       
     
V4_DJI0028_0033_Panorama1_Web.jpg
       
     
V3_DJI_0026_Web.jpg
       
     
V3_DJI_0027_Web.jpg
       
     
20180614_145717.jpg
       
     
20180531_104432.jpg
       
     
FABRICATION
       
     
IMG_8978.jpg
       
     
IMG_8956.JPG
       
     
IMG_8952.jpg
       
     
eddy in jig.jpg
       
     
IMG_8947.jpg
       
     
Internal Hidden Fastening
       
     
LAYOUT
       
     
IMG_0106.JPG
       
     
Pre Installation Assembly
       
     
eddy under tension.jpg
       
     
eddy front on.jpg
       
     
eddy with sadie 2.jpg
       
     
eddy up close 2.jpg
       
     
eddy up close.jpg
       
     
Child Approved
       
     
The Eddy
       
     
The Eddy

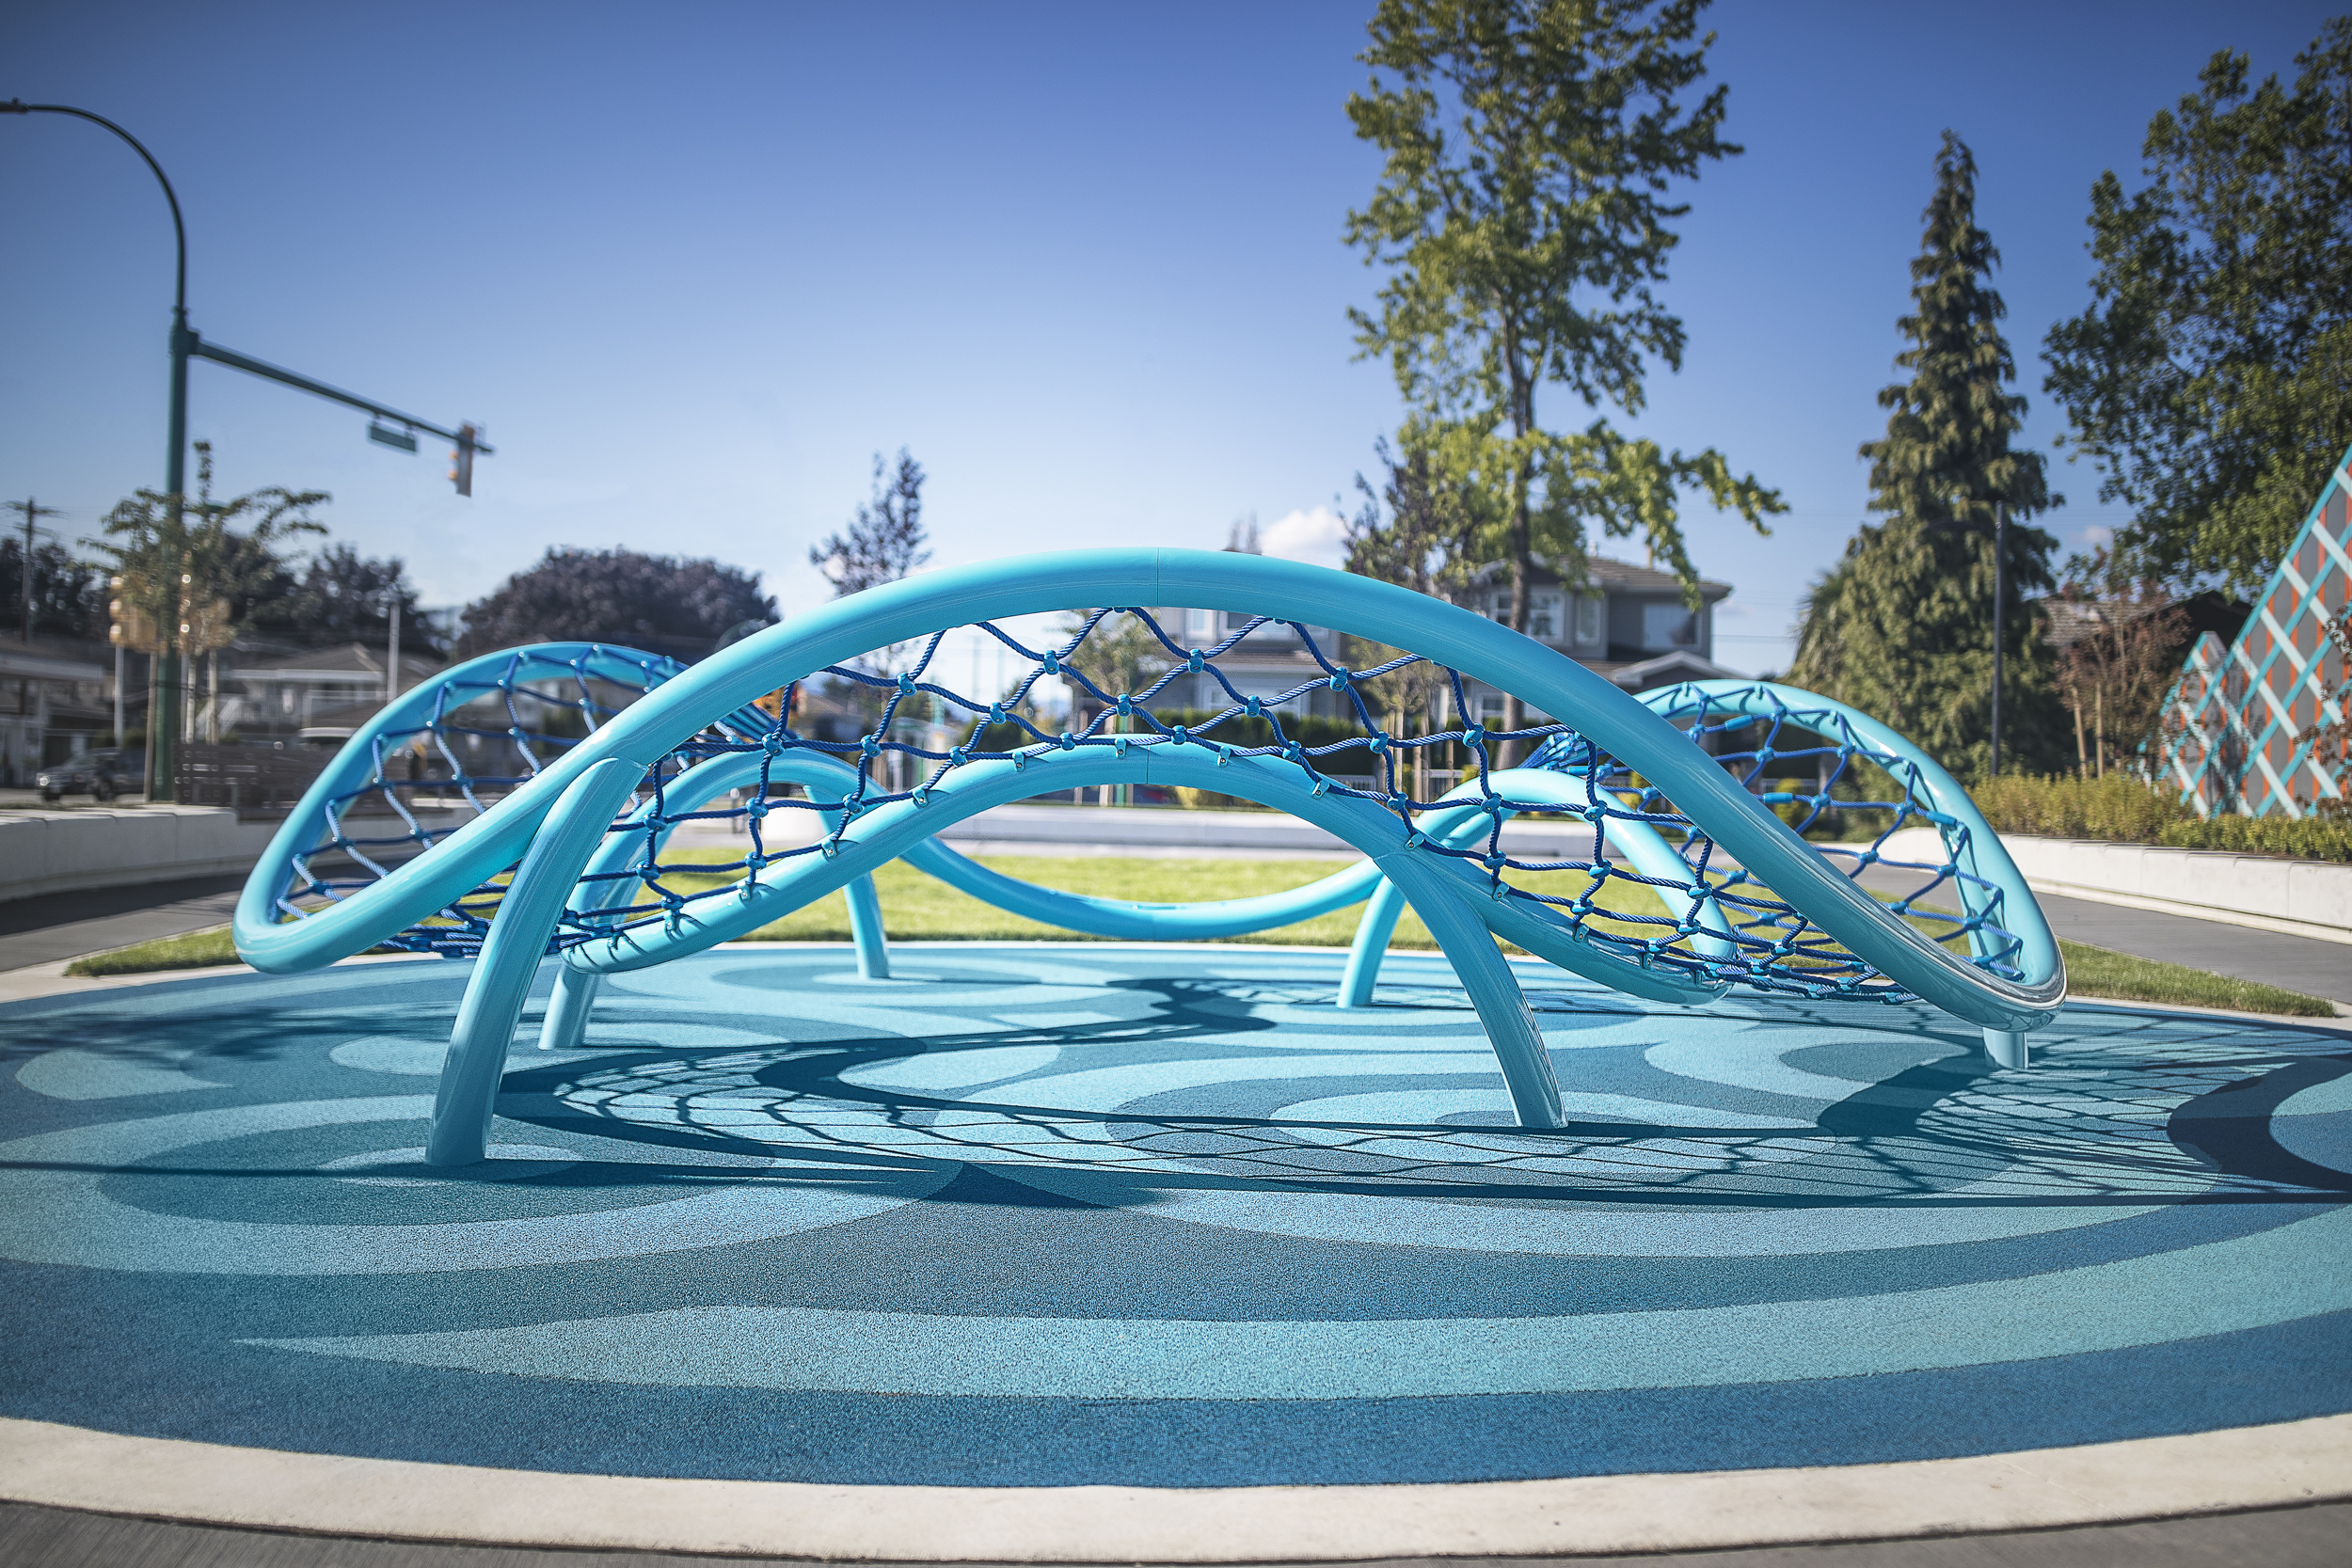
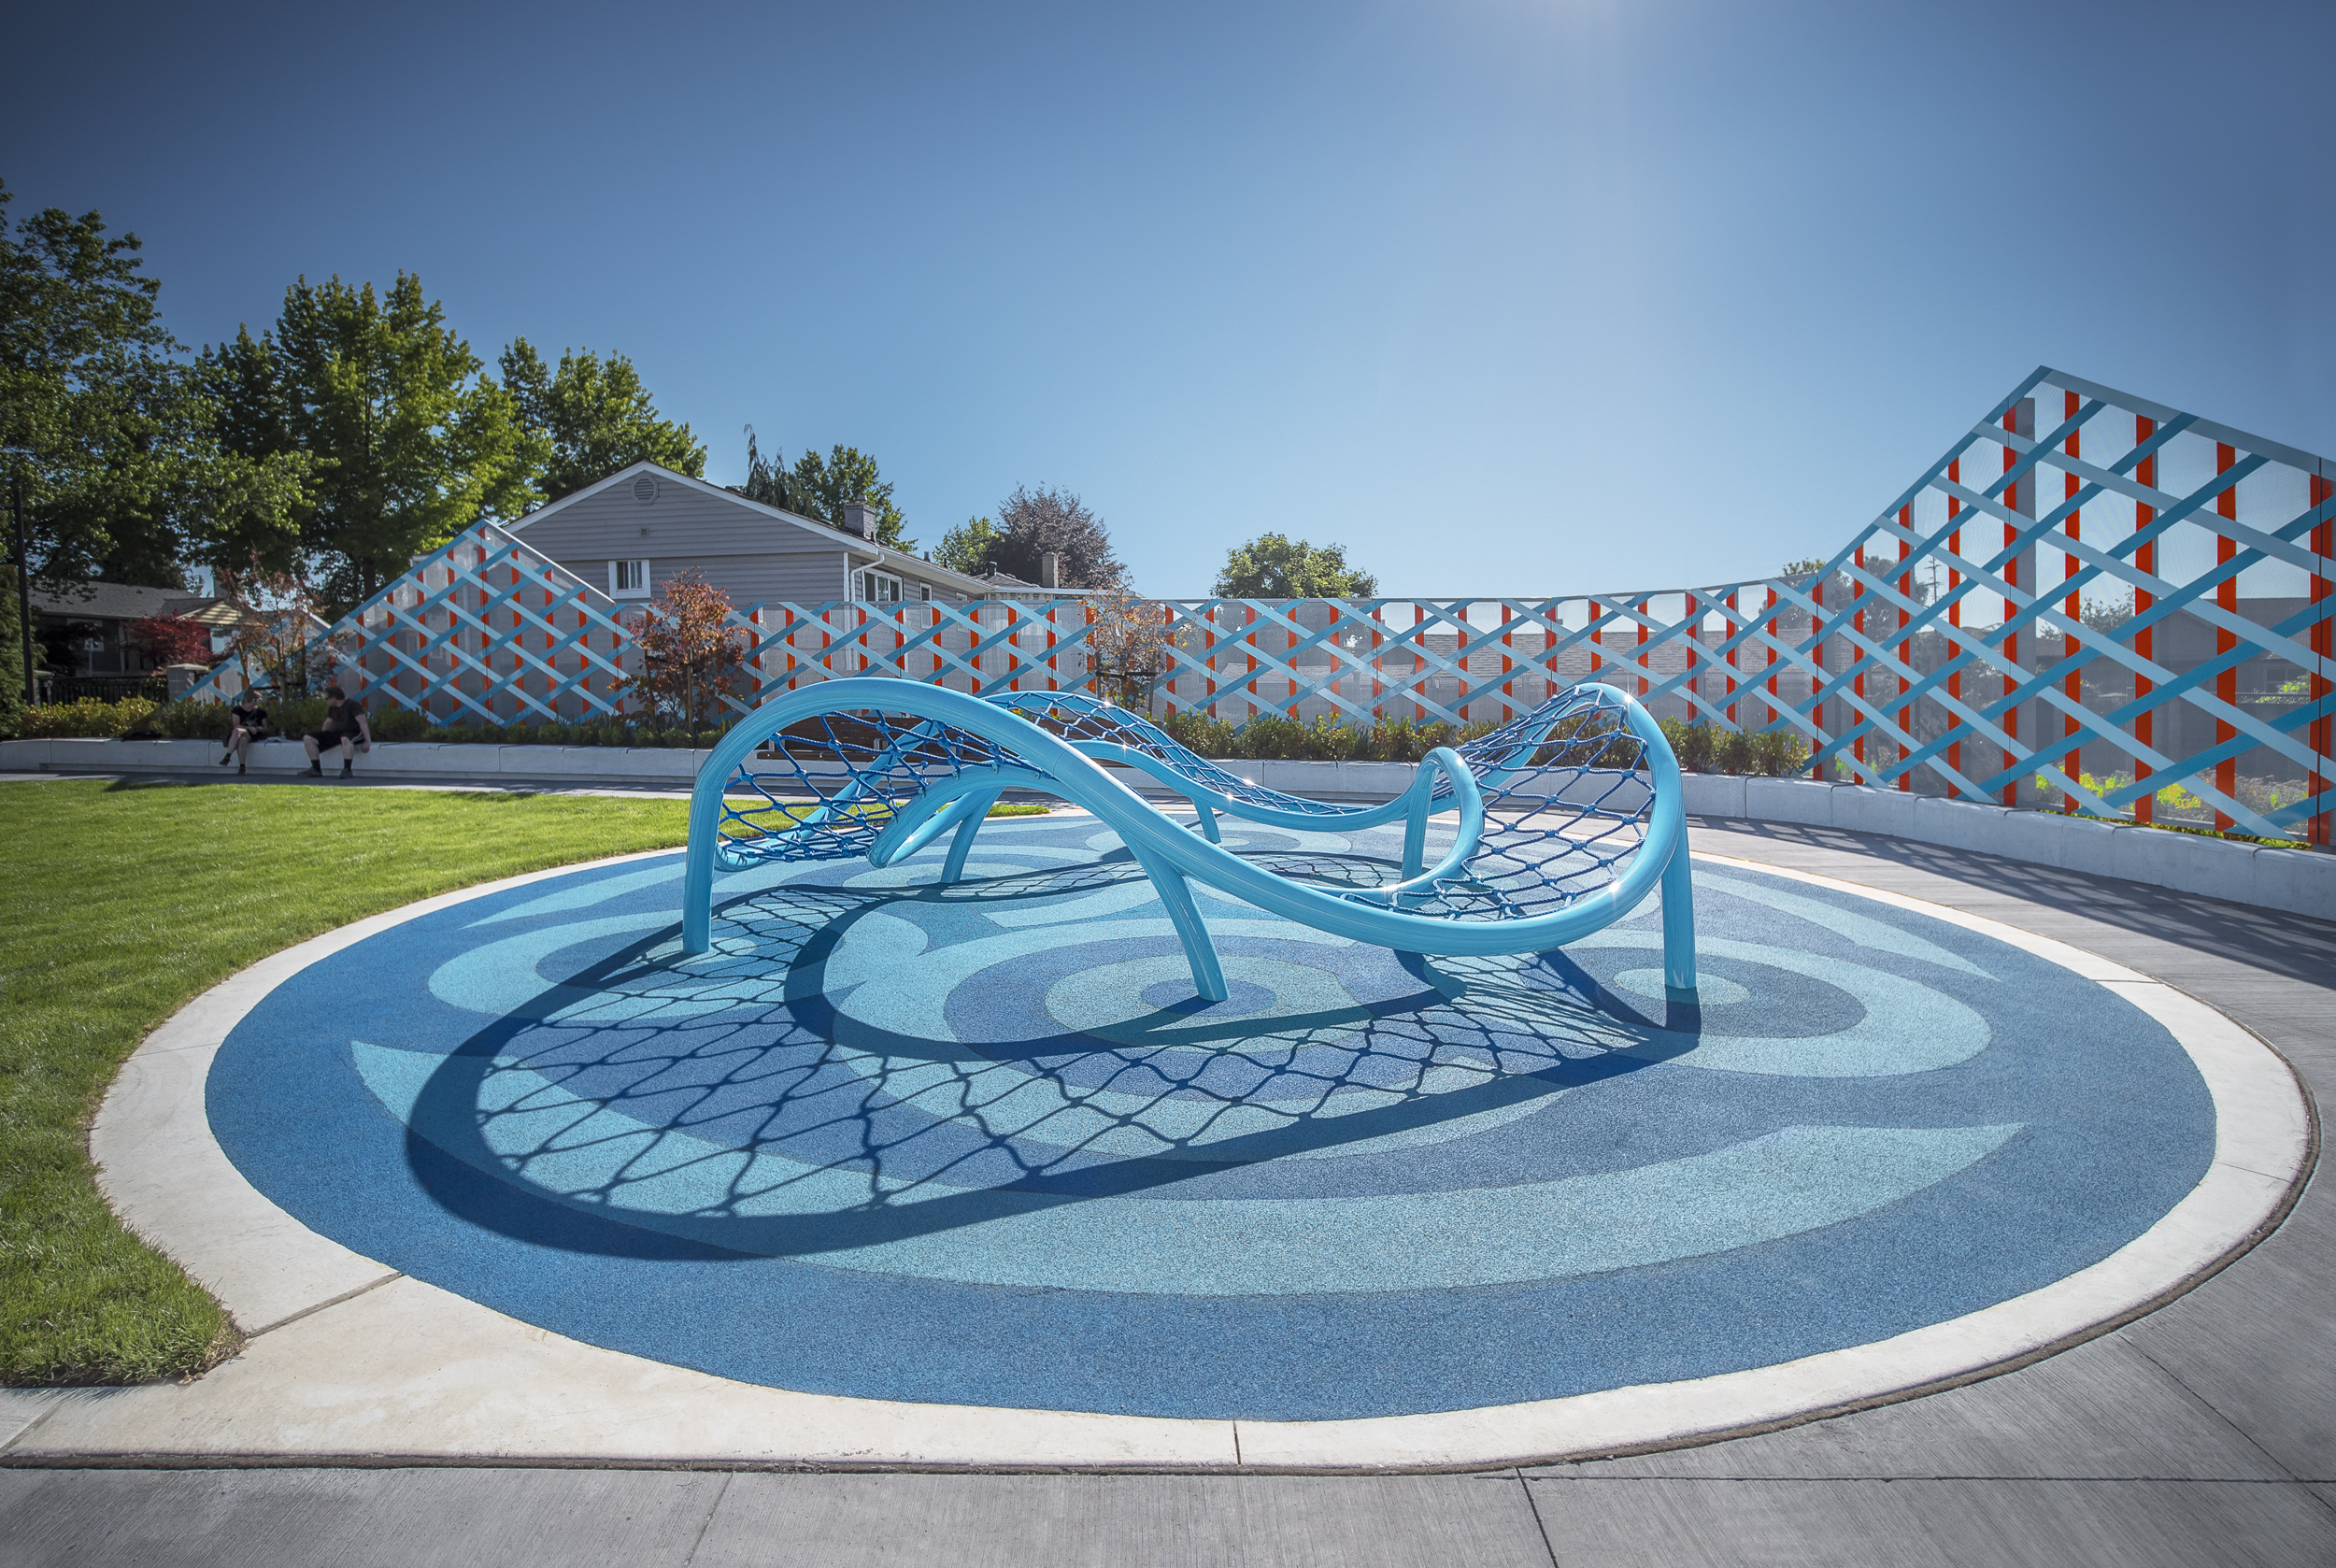
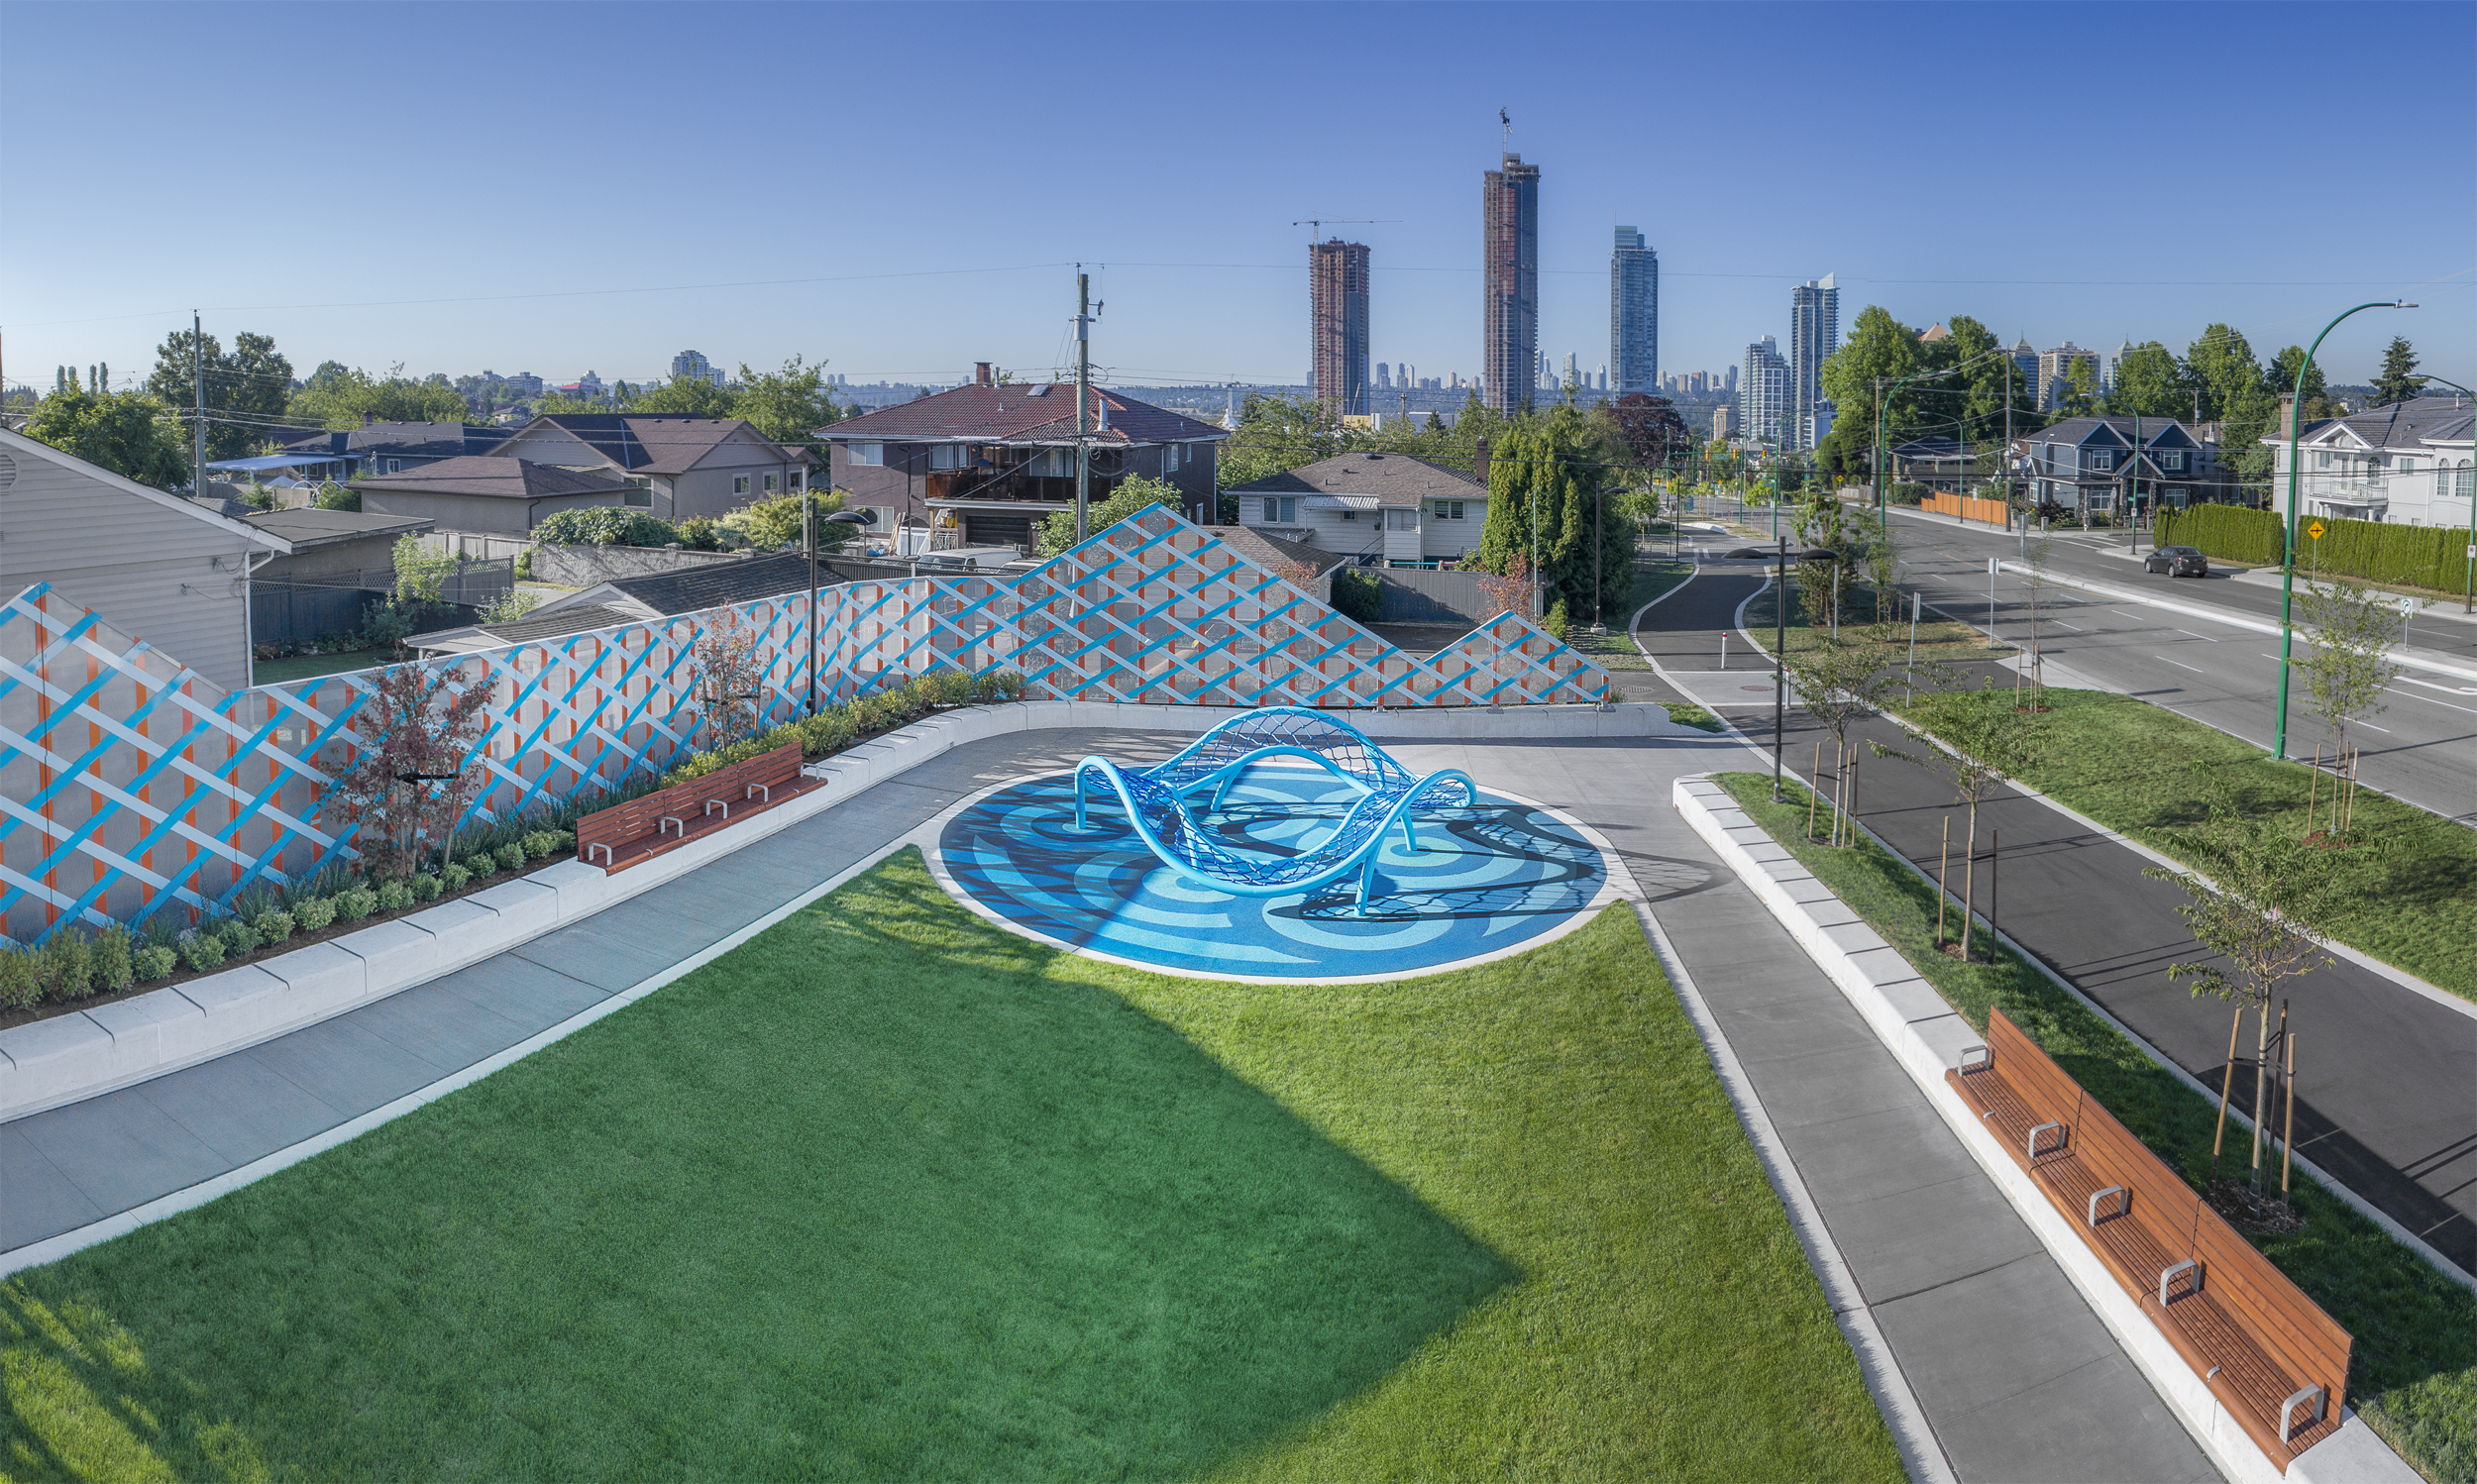
The Eddy is a climbing structure for children situated in one of the parkettes along Willingson Ave. in Burnaby, B.C.

Designed by Jennifer Marmon, Daniel Borins & James Kamesi

Fabricated and Installed by Punchclock

Materials
       
     
Materials

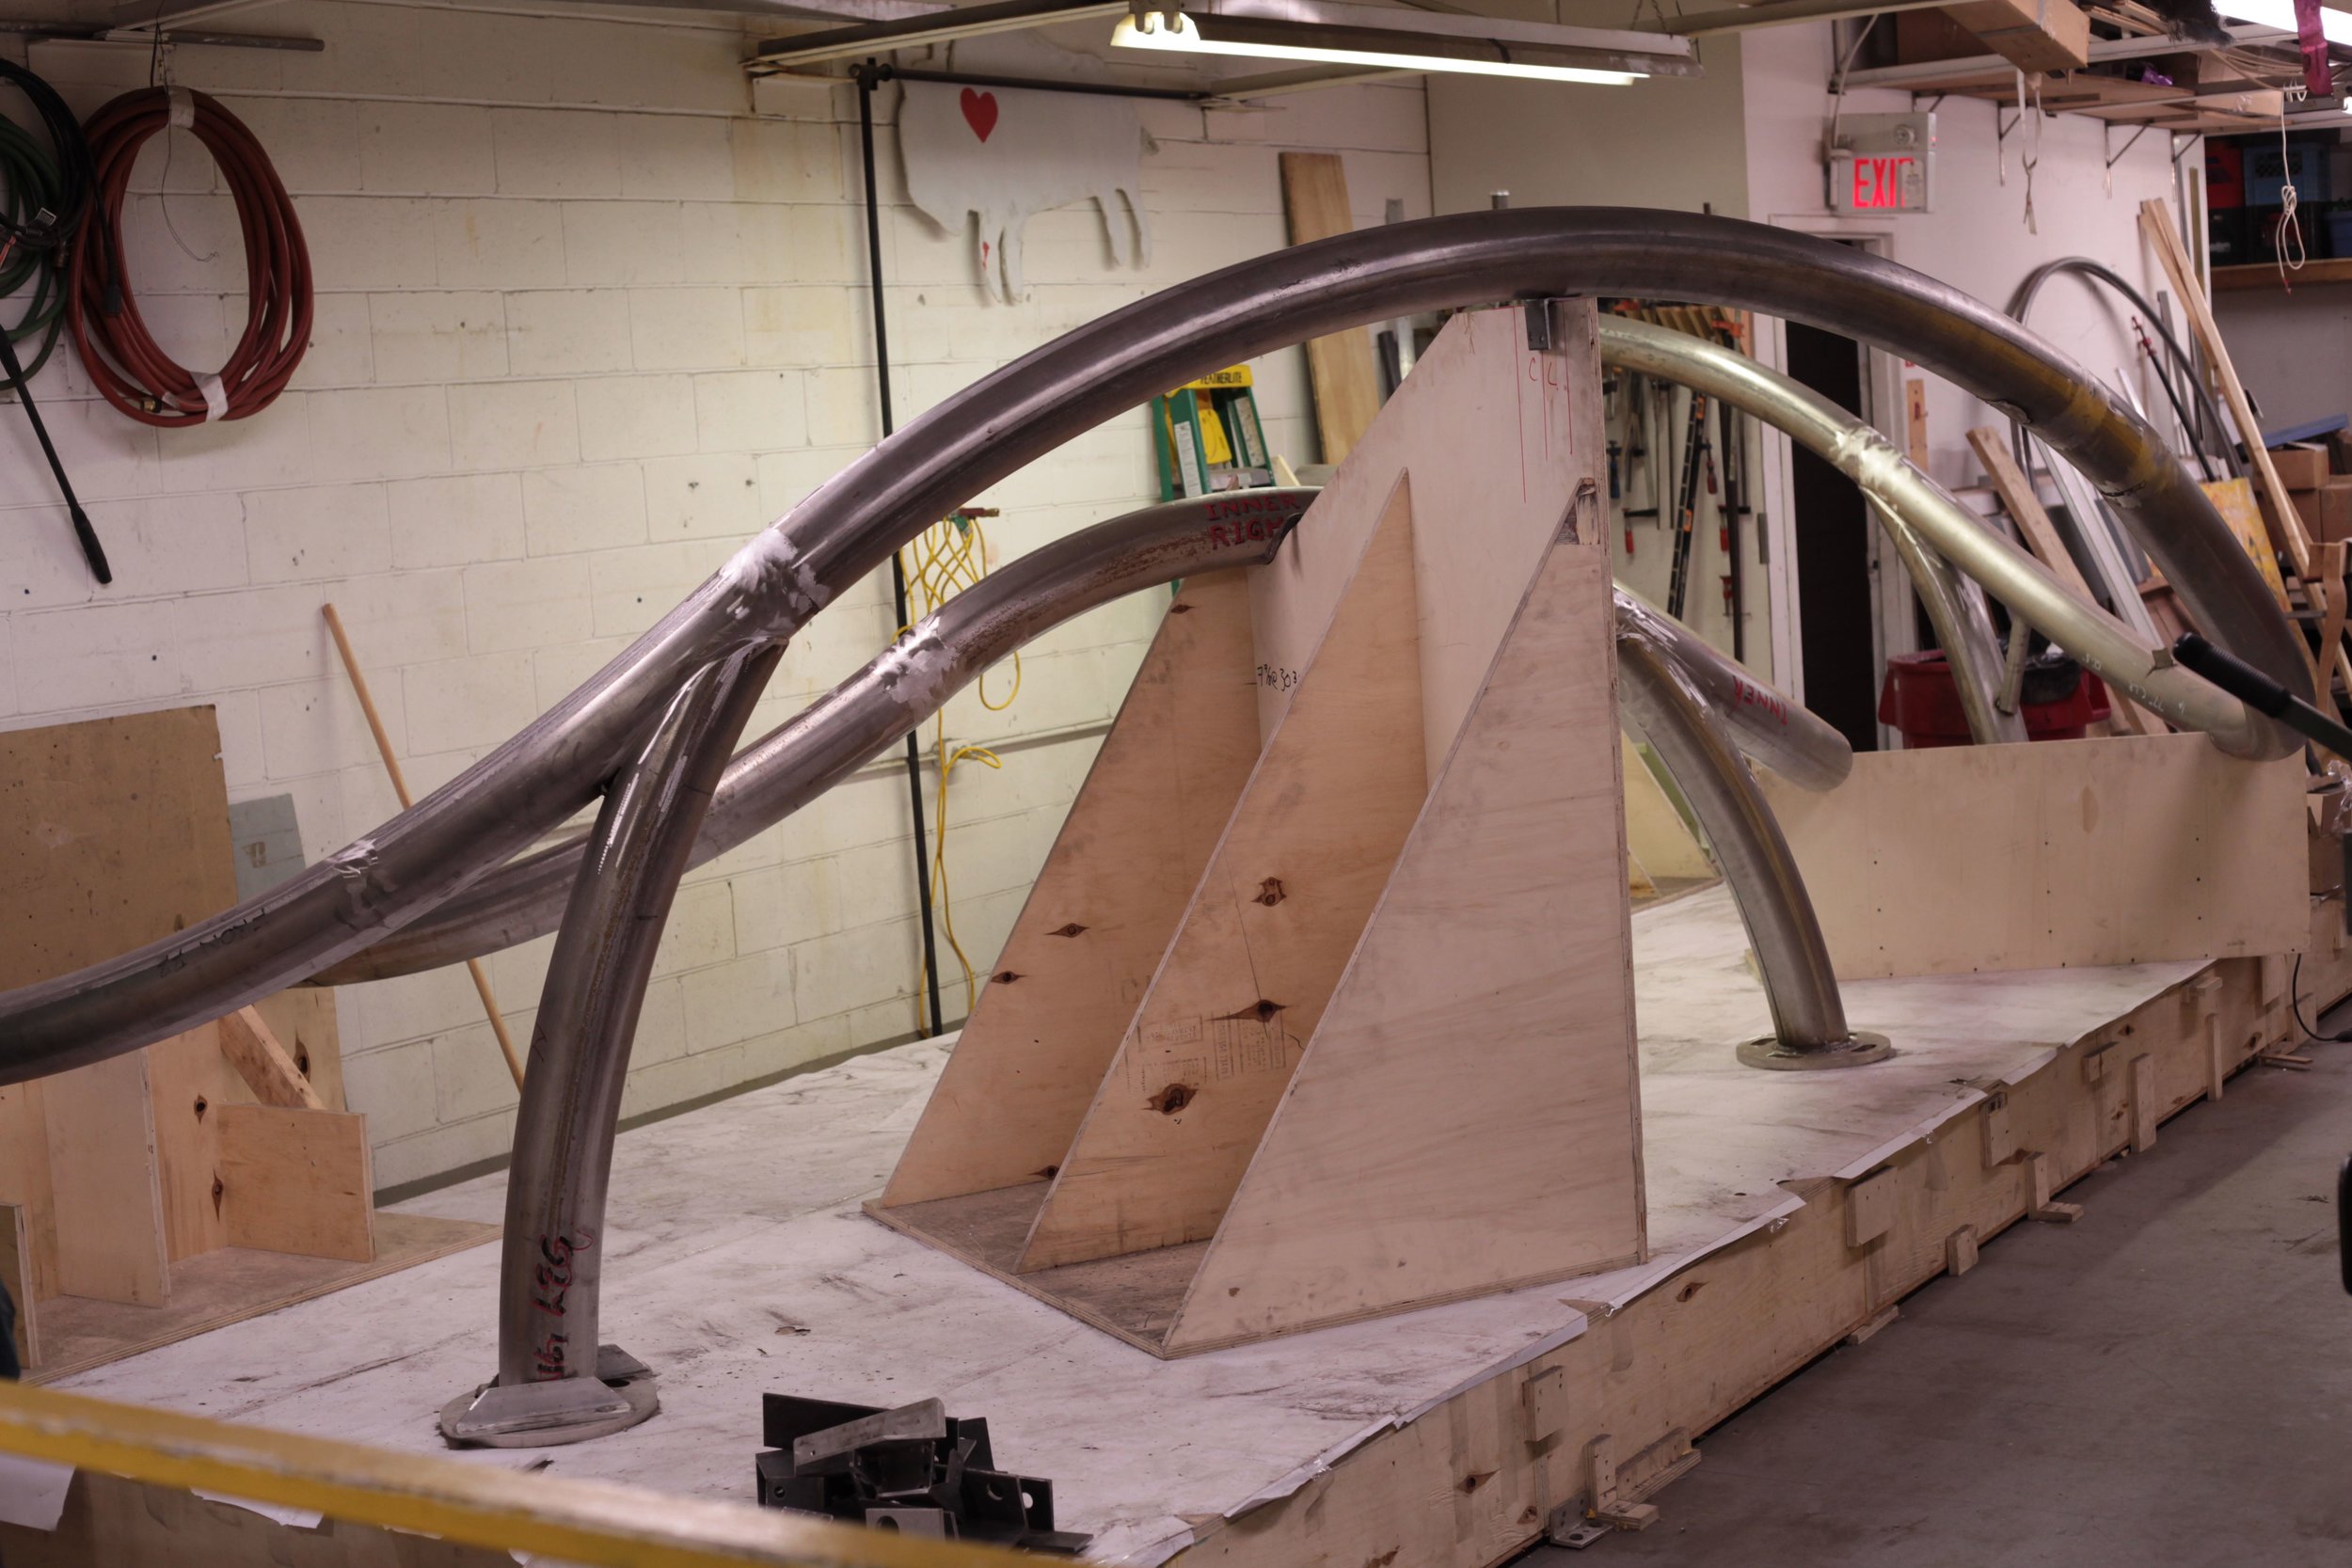
The Eddy was constructed out of segments of 5” dia. rolled stainless steel tubing. Each radiused portion of each undulating ring was cut/seamed, welded and blended to create continuous lines. Finished segments were bolted together internally to facilitate ease of finishing, shipping and installation.

V5_DJI0028_0033_Panorama1_Web.jpg
       
     
V5_A10I0119_Web.jpg
       
     
V5_A10I0128_Web.jpg
       
     
V4_DJI0028_0033_Panorama1_Web.jpg
       
     
V3_DJI_0026_Web.jpg
       
     
V3_DJI_0027_Web.jpg
       
     
20180614_145717.jpg
       
     
20180531_104432.jpg
       
     
FABRICATION
       
     
FABRICATION

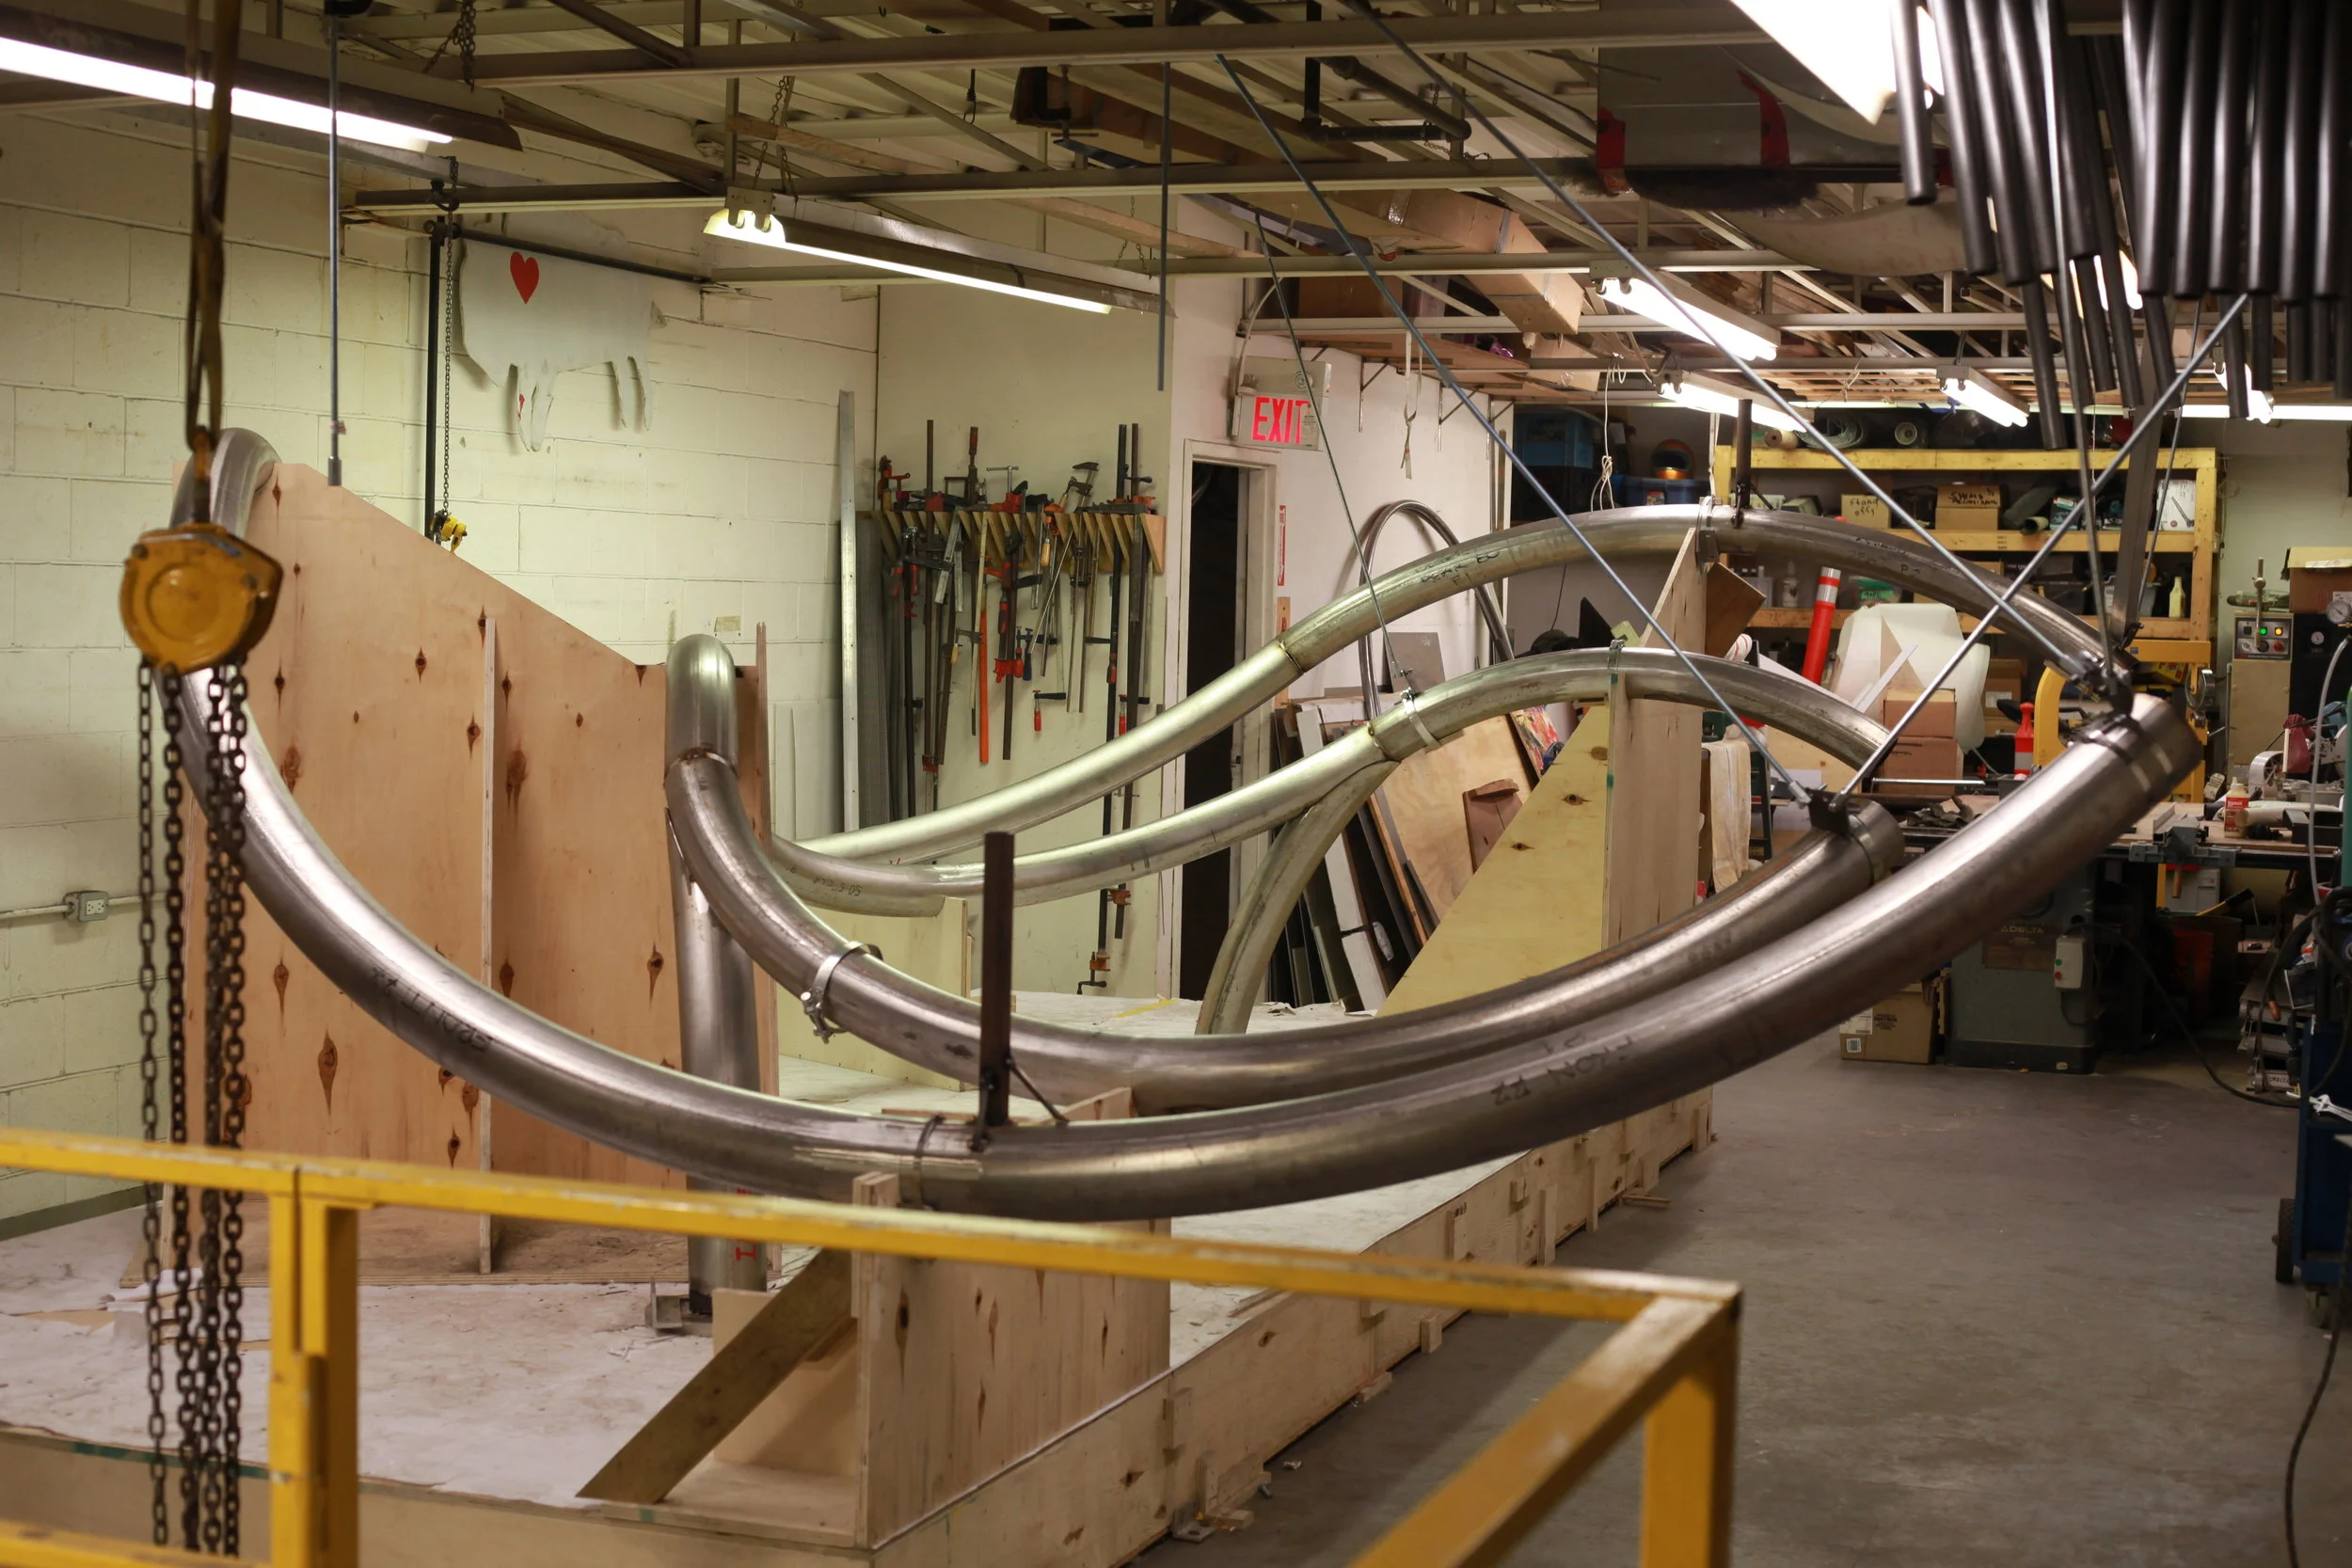
The primary problem to solve with this fabrication was making sure its as-built geometry never strayed too far. We purchased a used wide-format laser printer and printed and tiled all plan views on a level platform. From there we built plywood bucks/cradles that position the rolled pipes in relation to the printed plan of the whole assembly. Using plumb bobs and laser levels were able to phase the rolled segments to meet elevation benchmarks. In order to more accurately position the rolled segments in relation to each other and the floor plan we made struts and collars out of treaded-rods and used our ceiling joists to fine tune all the positioning. It was fun.

IMG_8978.jpg
       
     
IMG_8956.JPG
       
     
IMG_8952.jpg
       
     
eddy in jig.jpg
       
     
IMG_8947.jpg
       
     
Internal Hidden Fastening
       
     
Internal Hidden Fastening

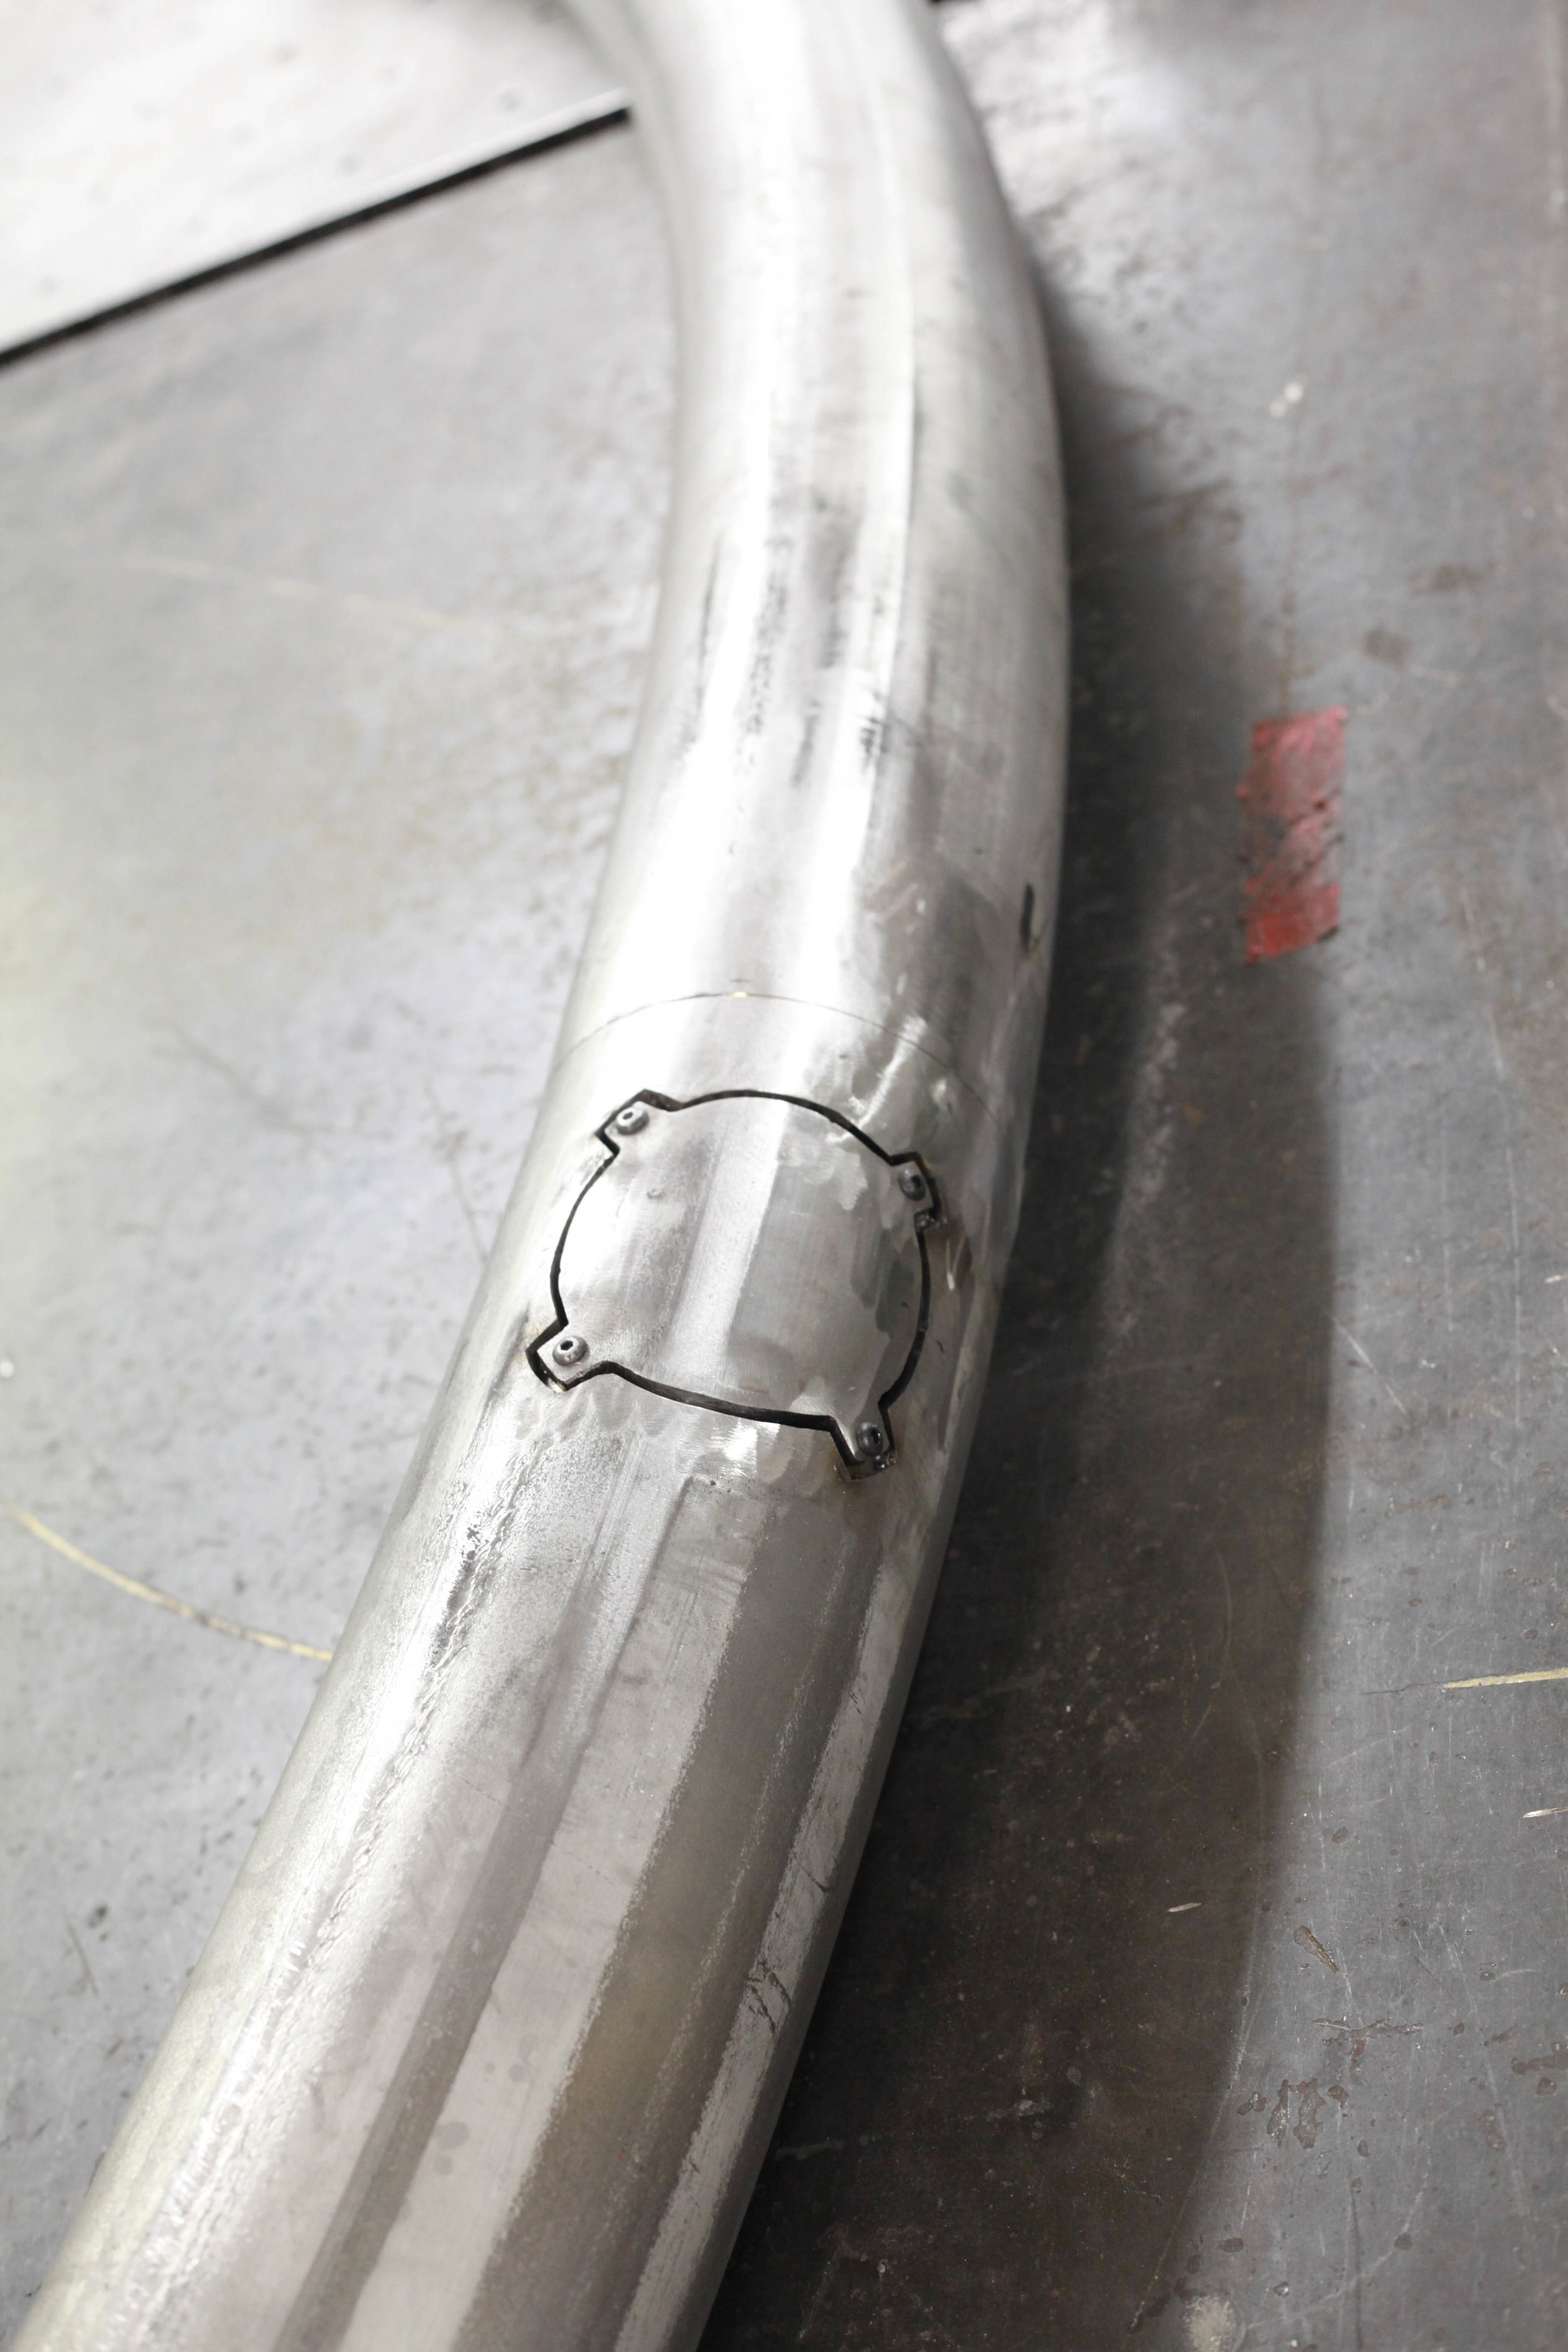
Here is an access hatch to allow for a 1” stainless bolt . All access hatches faces down, hidden from casual view.

LAYOUT
       
     
LAYOUT

For all cutting of rolled segments we used the 1:1 paper template method. The laser printer was able to print “accurately” (1/16th short for every 10’) enough to mark and scribe cuts on the edges of the round pipe. We used a custom collar to scribe all the way around.

IMG_0106.JPG
       
     
Pre Installation Assembly
       
     
Pre Installation Assembly

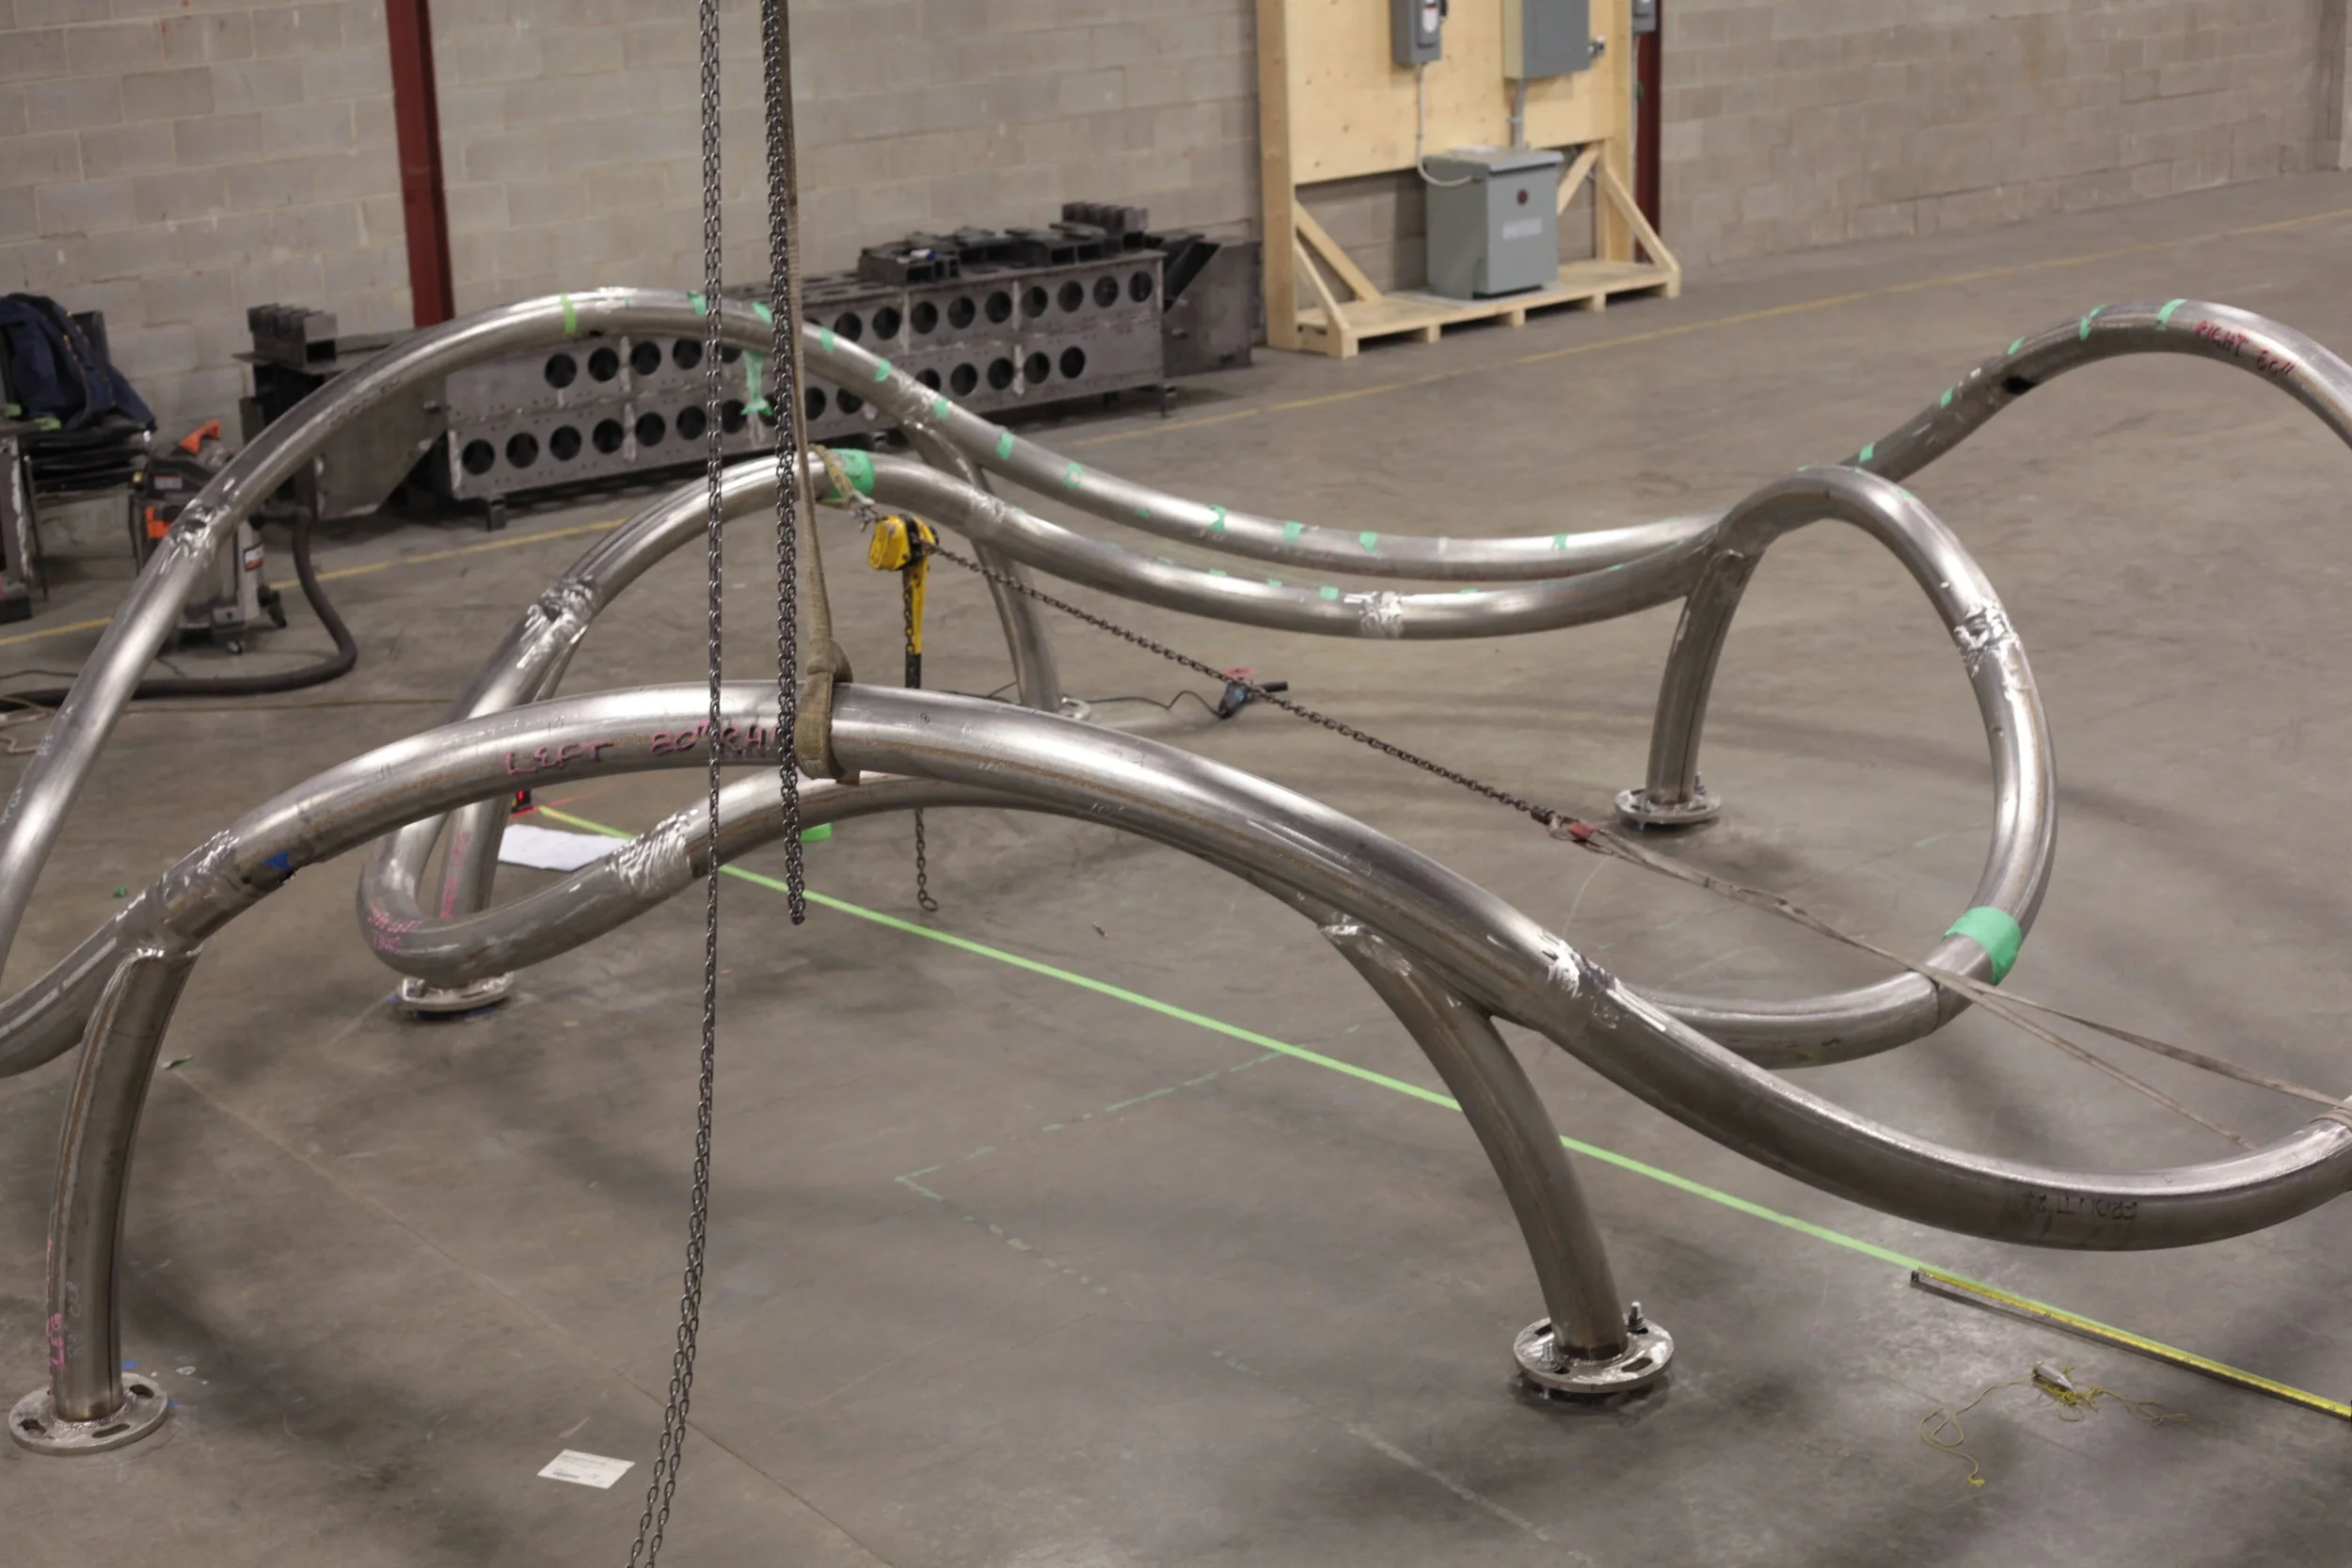
As with all projects a full pre-painted assembly or trial installation is done to make sure nothing was missed.

eddy under tension.jpg
       
     
eddy front on.jpg
       
     
eddy with sadie 2.jpg
       
     
eddy up close 2.jpg
       
     
eddy up close.jpg
       
     
Child Approved
       
     
Child Approved

Children were used to test height clearances.